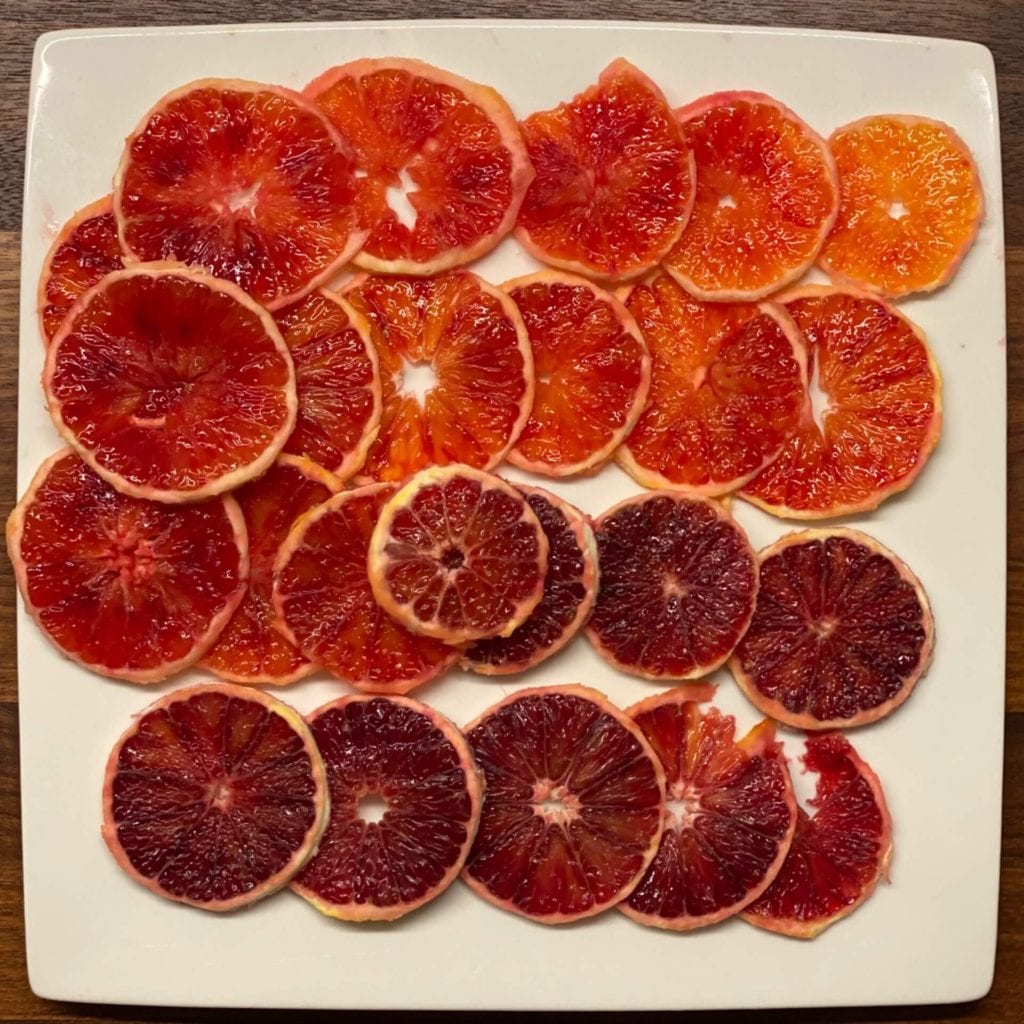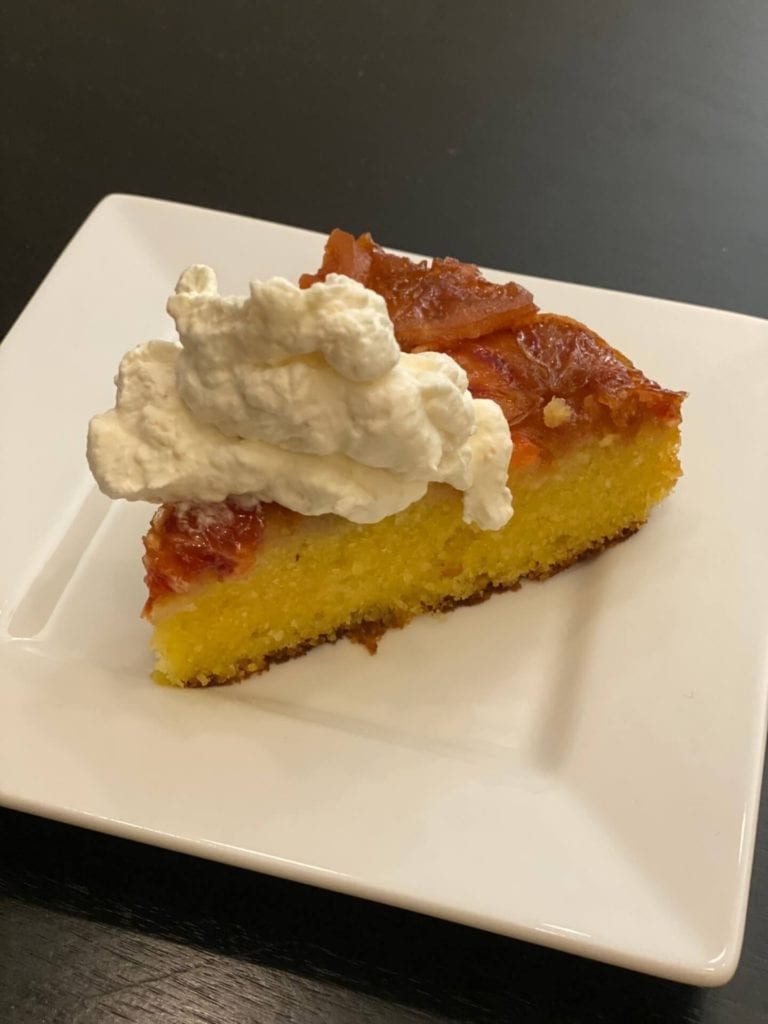
See my recipe below!
It’s Winter and its Blood Orange season. Most citrus fruits from North America (California, Florida, Arizona and Texas… yes Texas!?) hit their sweetest, most ripened stages in winter – which is probably why we see more of a variety in the winter months. Sooo… eating (and baking) the stuff in the winter is a good time to do it as the fruits are at their best. Timely of course, because the added dose of fresh vitamin C also helps us survive the winter flu and cold season (winter Covid season too? perhaps?) Of course we have citrus year round at the market – thanks to citrus imports mainly from South America balancing out the seasonality of our more local and regionally grown fruit.
My recipe is an adaptation from a NYTimes cooking recipe – I swapped their cornmeal for almond flour. I tried the cornmeal recipe, and honestly, it tasted too much like, well…cornbread… which was really distracting when you just want a bite of cake! The almond flour (you could even mix in portions of ground almond) adds its own level of texture and nuttiness so the cake isn’t just a sweet white sponge type cake. Like a more traditional pineapple upside down cake, this cake also has a brown sugary syrup that’s formed in the base of the pan that becomes the sticky sweet topping for the cake once it’s turned out. Along with the decorative and juicy orange slices, the top is “bare” but loaded with sticky sweetness from the syrup and tartness from the blood oranges – if you want, added dollops of whip cream work really well too. (plus, whip cream can act as a great concealer for the cake if you need to cover up some unsightly turnout fails…. It can happen. No big deal.)

INGREDIENTS:
-
1 cup + 3 tablespoon / 270g Butter
-
2/3 cup / 130g Light Brown Sugar
-
2 teaspoons fresh lemon juice
-
2 medium-sized blood oranges
-
1 cup / 122g Almond Flour
-
1/2 cup / 65g All Purpose Flour
-
1 1/2 teaspoon / 7g Baking Powder
-
1/2 teaspoon / 2g Salt
-
1 cup / 200g Granulated Sugar
-
4 large eggs, at room temperature
-
1/3 cup / 80g sour cream
-
2 teaspoons vanilla extract
INSTRUCTIONS:
prior to mixing:
-
Grease a 9” round cake pan with liberal amounts of butter. Note; all this butter will combine and add to the syrupy topping and help release the cake at turn out – both very important!
-
Set rack to middle, and pre-heat your oven to 350°F / 170°C
Make the Cake Pan Syrup
-
Melt 3 tablespoons (45g) butter in a small sauce ban
-
Add brown sugar and lemon juice
-
Stir until sugar dissolves
-
Pour syrup mixture into bottom of buttered cake pan
Prepare the Blood Orange Cake Top
This will be the arrangement of blood orange slices that appear on the top of the cake after its turned out – and will be the “decoration” for the cake that everyone will see.
-
Zest about 1/2 teaspoon of the orange skin – set aside to add to cake batter
-
Optional: using a sharp knife, cut off skin and as much of the white pith from the outside of the oranges, cut from top to bottom following the curvature of the fruit. I say this is optional, because the white pith of the skin creates one look, while the skinless – flesh only top has another look -both are great. If you’re worried about the skin being chewy, it’s not that big of a deal, it really cooks nicely in the syrup and only adds a little extra texture and extra citrus flavor.
-
Slice oranges into about 1/4“ wheels (or into any shape you desire), discard any seeds. Only use slices that look nice, think about discarding the odd slices that come from either end of the orange
-
Arrange slices in bottom of pan, atop brown sugar syrup mixture. Keep oranges in one layer and tight. Think about arranging the slices in a creative geometric pattern that may be interesting once you turn it out! (just note, there’s a chance said turn over design won’t look as you had envisioned… but it will still be beautiful and tasty either way!)
Make the Cake Dough
-
In a large bowl, whisk the dry ingredients: orange zest, almond flour, AP flour, baking powder and salt – set aside.
-
In a stand mixer with paddle attachment (or a separate bowl with a hand mixer), cream the sugar and butter (2 sticks / 226g) until light in color, about three minutes. Scrape the bowl down on all sides.
-
Beat in eggs, one at a time into butter mixture.
-
Beat in sour cream
-
Beat in vanilla and scrape down the bowl one last time to ensure all wet ingredients are combined
-
Lastly, fold in the dry ingredients until just mixed in – ensuring all pockets of flour are gone. Either mix on slow speed or just use your spatula.
Bake the Cake
-
Slowly pour batter into the pan, over the oranges. Try to pour the batter evenly and symmetrically so you don’t displace any of your perfectly placed orange pieces in the bottom of the pan!
-
Transfer pan into the 350°F oven and bake for 40 to 50 minutes until the cake is golden brown at top and your centrally inserted toothpick comes out clean.
-
Cool pan for 10 minutes, then run a knife around the edges to loosen the cake.
-
Place your desired cake service plate over the cake pan, slowly grab both the cake pan (maybe still hot…use a towel or oven mit) AND the cake plate and flip over in one swift movement (not too fast… but don’t hesitate). You should hear and/or feel the cake drop onto the plate (if not… you can give the cake pan a few little taps)
-
Now, the moment of truth. If the (heavely) buttered pan and brown sugary syrup base layer did their job, that cake should slide right out with no problems and you then can carefully lift the cake pan off the plate – revealing your beautiful blood orange upside down cake!
-
HOWEVER, don’t despair… if that cake comes out in pieces, or some of the oranges stay stuck to the bottom of the pan (like on my first try)… you should still be able to turn it out and piece it back together – then let it cool completely. While the cake is cooling, whip up a batch of fresh whip cream with the remaining orange zest then dollop the whip cream atop the cooled cake and smooth it out like frosting on a cake – forever concealing the citrus disaster that was your first upside down cake – and it’ll still look gorgeous and absolutely taste great!

1 thought on “Blood Orange Upside Down Cake”
I’ll give it a try! Looks yummy!