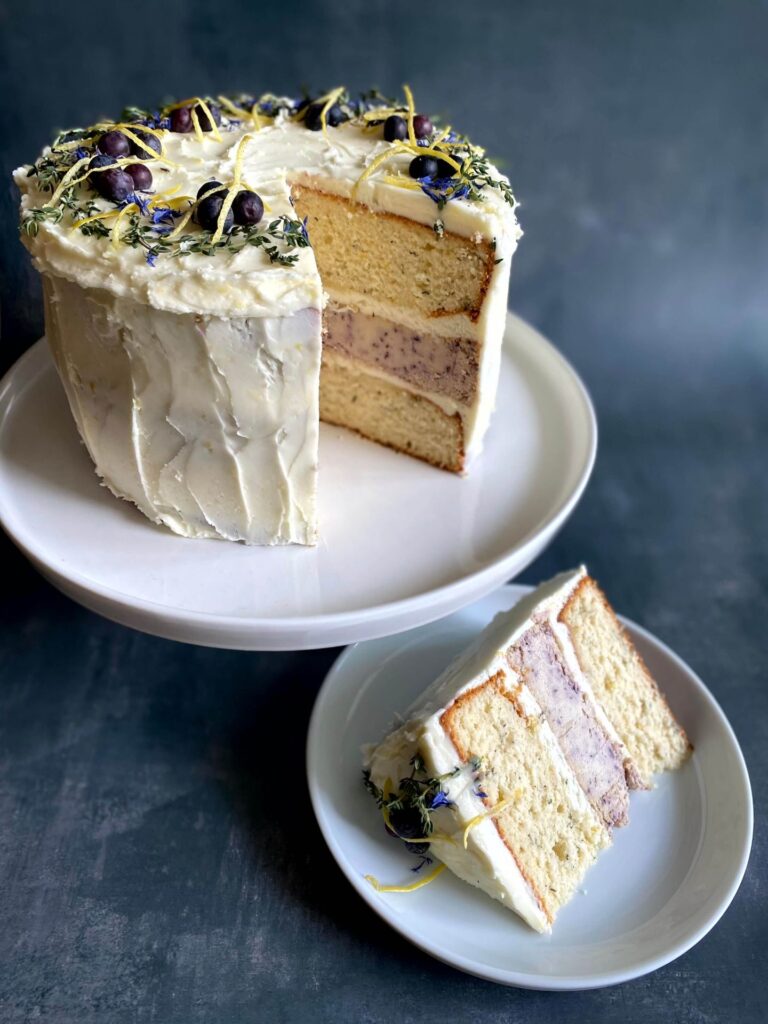
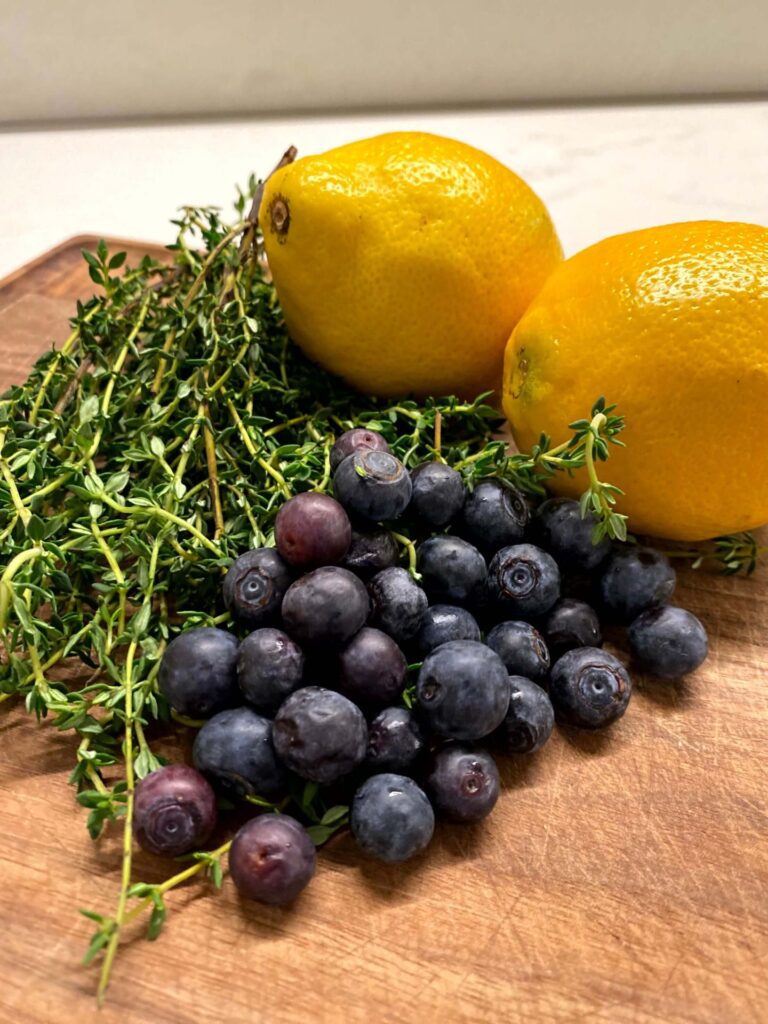
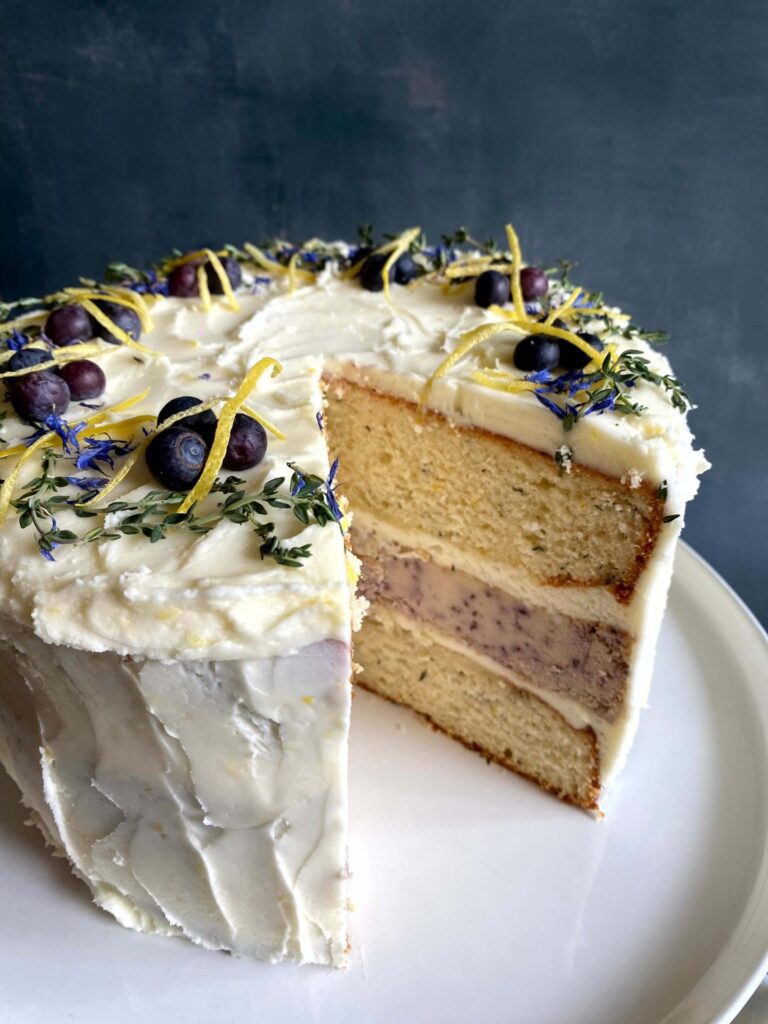
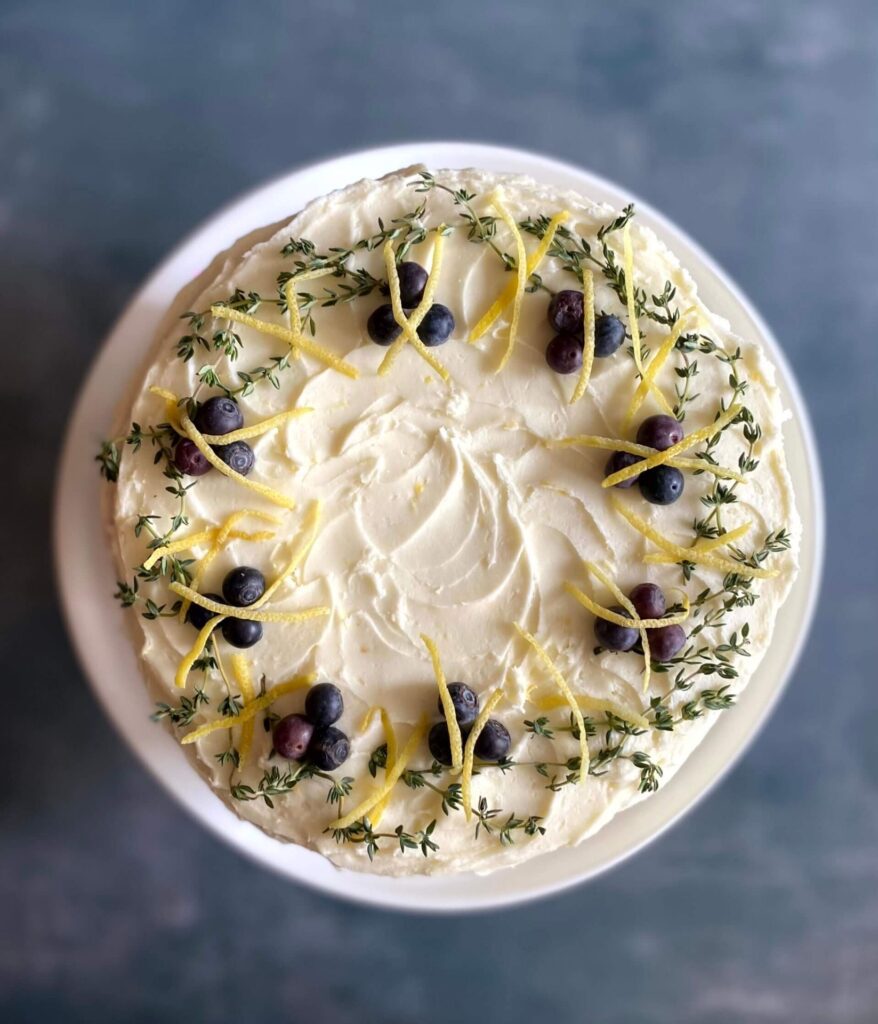
This is SPRING in cake form – I made it recently for Easter, which it was perfect for. The flavor combo of lemon and blueberry is well known – the two compliment each other famously. However, the herby addition of thyme really adds something special to these flavors. Mint isn’t the only lucky herb that goes well with sweet dishes. I once had a cocktail (or a few) from Union Square Cafe that was a blueberry thyme gin and tonic – that I never forgot. I’m not saying this is that cocktail in cake form, but I am saying these are great flavors together and you should really try experimenting with this herb in your fruity desserts, you’ll be surprised how well it works out. (also… I’m seriously looking forward to working in rosemary, thyme and basil into some other sweet concoctions….stay tuned)
Also…this cake serves up a bit of surprise with an unexpected layer of blueberry cheesecake sandwiched between two layers of lemon/thyme yellow cake. It’s a cake I’ve had a few times before and I really love how the cheesecake adds to the overall moistness of the cake, and for the extreme sweet tooth freaks out there, having frosting with your cheesecake is a realllllly decadent option you never knew you needed.
A couple of tips in this recipe to get the most out of the flavors are to macerate lemon zest and thyme with your measured sugar. Mixing (mashing, really) the zest and the thyme in the sugar does a great job to squeeze out the flavor oils from the zest and thyme to ensure you extract as much flavor as possible. The lemon is a stronger flavor and may overpower your thyme, so to ensure you taste the thyme – I made a thyme simple syrup to spread onto the cake layers before assembling and frosting. Obviously, you can dial up or down the flavors here to suit your taste, but these two actions really enhance those flavors.
Lastly, one thing I tried with this recipe was the “reverse creaming” method. This is a process whereby you combine the ingredients in a different order. Typically in cake recipes you “cream” the butter and sugar together until light and fluffy, then add the eggs one at a time, then the liquids, then the dry ingredients. In the “reverse creaming” method (and in my recipe instructions here), you combine all the dry ingredients together including the sugars, then add in the softened butter and mix until a sandy, crumbly then a pasty mixture results (somewhat resembling a cookie or pastry dough)… then you add in the liquids. Surprisingly, this method really emulsifies beautifully – which is key for your cake batters.
Supposedly, this is a more foolproof way to mix the dough that results in a more tender and velvety crumb texture. The science is that when you add the butter to the flour, you are actually surrounding all the fat molecules with flour which inhibits the gluten development process once you add the liquids. By inhibiting the start of the gluten development, you avoid an over beaten texture which is dense and tough. Lastly this method also severely reduces the chance of a broken batter (which is no fun).
To be honest, while it is true that cakes made in the traditional way can be overbeaten and not emulsify nicely – but when they do, it makes a perfectly tender and moist cake too – so i’m not sure this mixing process is better… it just seems it leads to a higher chance of your cake turning out the way you want. Give it a try! – let me know what you think in the comments below!
MAKE THE BLUEBERRY LEMON CHEESECAKE
INGREDIENTS:
3/4 Cup / 125g Fresh Blueberries
16oz / 450g Cream Cheese – room temperature
1/2 Cup / 100g Granulated Sugar
2 Tablespoons / 16g All Purpose flour
1 1/2 Teaspoons Vanilla
2 Eggs + 1 Egg Yolk – room temperature
1/4 Cup / 61g Sour Cream – room temperature
1/4 Cup / 60g Heavy Cream – room temperature
1 Tablespoon Lemon Zest
INSTRUCTIONS
Prior to Mixing:
Preheat oven to 350° F / 177° C
Grease 8” springform pan
Grab a roasting pan or dish that the 8” round cake pan can sit in for cooking in water bath (bain-marie)
Wrap outside of pan with one continuous piece of aluminum foil to prevent water from leaking into pan during water bath cooking
Boil the water that will fill the roasting dish halfway up the side of the cake pan
Mix and Bake:
In a food processor, blend the blueberries and cream cheese, transfer to a mixing bowl
Add the sugar and flour and mix until smooth (either stand mixer or hand mixer)
Mix in the vanilla
Add the eggs, one at a time, mixing after each egg addition. Simply combine, do not overmix
Add the sour cream, heavy cream and lemon zest, mix until combined.
Pour cheesecake mixture into a greased springform cake pan. In order to even out the top of the cheesecake batter you can jiggle the pan, give it a few counter taps and smooth the top with a spatula.
Place foil wrapped cake pan in center of larger roasting pan
Place roasting pan in the oven
Once pan is the oven, pour the boiling water into the roasting pan and fill to halfway up the side of the cake pan
While adding the water, do not get any water on the top of the cheesecake batter. If you do – try to dab it up with a paper towel.
Bake for 40 to 45 minutes.
Cheesecake is done when given a slight jiggle, the center moves like jello but the sides are firm and pulled away from the sides.
Turn off the oven and crack the oven door open with a wooden spoon to slowly cool and set the cheesecake (that jigglyness in the center will firm up)
Note: in traditional cheesecakes with exposed tops, it is also typical that you slowly cool the cake this way so as to help prevent cracking from appearing. However, that is not really a concern with this recipe as it will be hidden under a layer of yellow cake.
Once cooled completely, remove from the oven and release cheesecake from the spring form pan keeping the base plate under the cheesecake for support. Wrap cheesecake on base plate in plastic wrap and place in the refrigerator or freezer overnight. We want the cheesecake to be firm for assembly and icing.
While the cheesecake continues to set in the refrigerator, make the other cake layers.
MAKE THE LEMON THYME CAKE
INGREDIENTS:
-
1 2/3 Cups / 333g Granulated Sugar
-
1 Tablespoon Lemon Zest
-
2 Tablespoons Thyme Leaves
-
2 3/4 Cups / 330g All Purpose flour
-
1 Tablespoon Baking Powder
-
3/4 Teaspoon Salt
-
3/4 Cup / 170g / 12 Tablespoons Unsalted Butter – room temperature
-
4 Large Egg Whites – room temperature
-
1 Large Egg- room temperature
-
1 Cup / 245g Full Fat Vanilla Yogurt – room temperature
-
1 Tablespoon Vanilla Extract
INSTRUCTIONS:
Prior to mixing
Preheat the oven to 350°F.
Lightly grease two 8″ round pans with butter or baker’s spray
Line bottoms with parchment and grease the parchment.
If you aren’t using baker’s spray, line the greased pans with flour – being sure to tap the excess flour out of the pan
Note: Make sure your 8″ pans are at least 2″ deep
Mix and Bake:
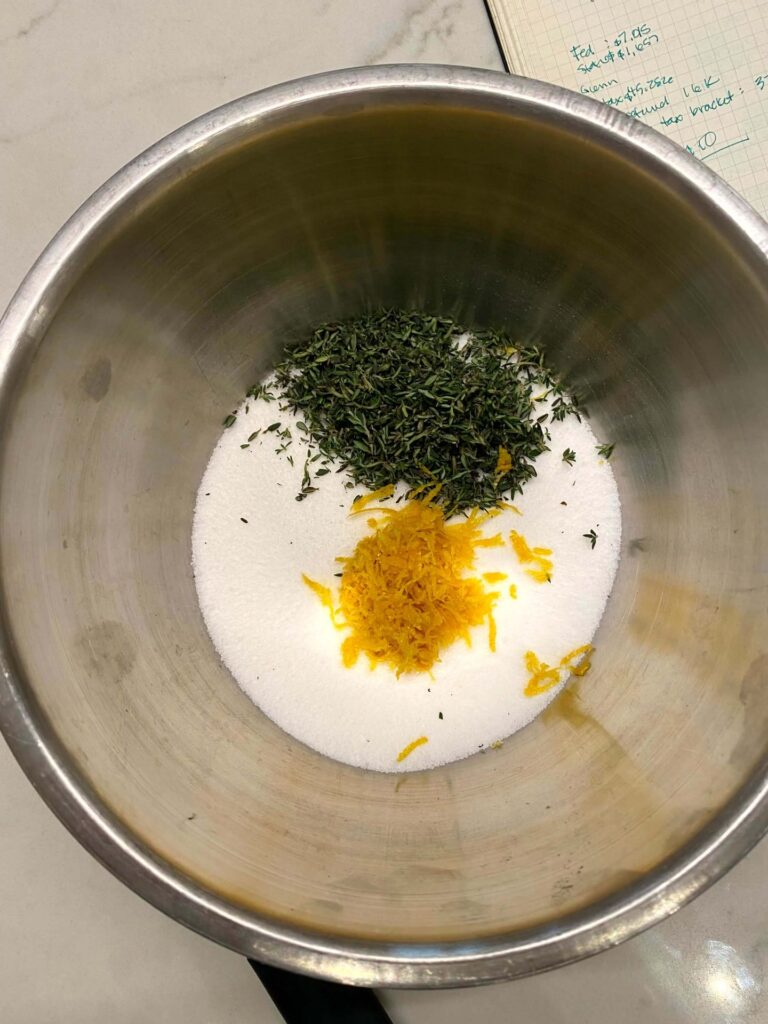
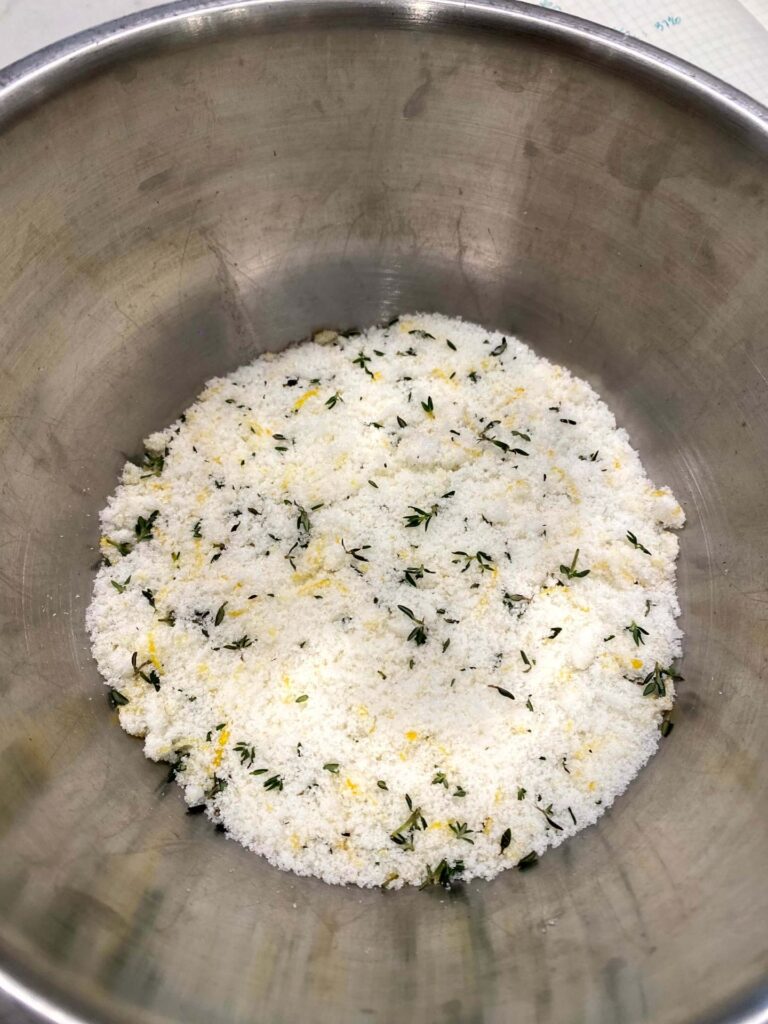
Flavor the sugar with lemon zest and thyme; in a separate small bowl, combine the granulated sugar with the lemon zest and thyme leaves. With the back of a large spoon, or with your hands – macerate the sugar with the lemon zest and thyme leaves. The granules of sugar will tear apart and break down the lemon zest and thyme leaves releasing their essential oils and thus flavoring your sugar – which will create a fully incorporated lemon and thyme flavor into the cake.
Using a stand mixer with the paddle attachment, set on low speed, mix ALL the dry ingredients until thoroughly combined. Add the soft butter and mix until evenly crumbly and “sandy”.
Beat in the egg whites one at a time then the whole egg, beating for about 30 seconds and scraping down the sides and bottom of the bowl after each addition. This process helps build the cake’s structure.
In a small bowl or measuring cup, whisk the yogurt with the vanilla. Add this yogurt mixture, one-third at a time, to the batter. Beat for 30 seconds and scrape down the sides of the bowl after each addition. Note: if the batter “breaks” and looks curdled, this is OK…to resolve, you can add a tablespoon of flour at a time to the mix – this should re-emulsify the mixture so it looks like smooth, velvety cake batter. Do not add more than 3 tablespoons (1 to 2 are ideal) and do not over mix.
Pour the batter into the 2 prepared pans. Bake for 30 to 35 minutes, until set and starting to pull away from the edges of the pans. A toothpick or paring knife inserted into the center of a cake will come out with a few moist crumbs sticking to it when it’s done.
Remove the cakes from the oven and cool for 15 minutes in the pans. Transfer the cakes to cooling racks to cool completely.
Wrap cakes in plastic wrap and place in refrigerator to chill
While cakes are chilling, make the lemon cream cheese frosting and thyme simple syrup
MAKE THE LEMON CREAM CHEESE FROSTING
INGREDIENTS:
12oz / 339g cream cheese, softened
1 Cup / 227g / 16 Tablespoons / 2 sticks unsalted butter, softened
4 – 5 Cups / 500g – 625g Powdered Sugar
1 Tablespoon Lemon Zest
1/2 Teaspoon Salt
INSTRUCTIONS:
In a stand mixer with paddle attachment, or with hand mixer, blend the room softened cream cheese and butter together fully until smooth
Add lemon zest and salt
Add powdered sugar, 1 cup at a time. Mix each cup fully so you can test for sweetness and desired consistency.
Scrape down the side of the bowl and mix for a final 30 seconds
MAKE THE THYME SIMPLE SYRUP
INGREDIENTS
3/4oz / 20g Fresh Thyme, bunched and tied with cooking twine
1 Cup / 200g Granulated Sugar
1 Cup / 240g Water
INSTRUCTIONS:
Combine all ingredients in a medium saucepan, heat over stove
Bring to boil, then reduce to a simmer
Stir occasionally until all the sugar is dissolved and you have a syrupy consistency and the syrup is still clear (you don’t want to heat so high or long until you have caramelization happening – although that would also probably taste really good!)
Remove from heat and pour into a heat resistant dish to cool fully
ASSEMBLE THE CAKE
Remove all three cake layers, cream cheese frosting and thyme simple syrup from the refrigerator
Unwrap one layer of the lemon thyme cake, place on your cake plate – this is your base layer of the cake.
Brush on the thyme simple syrup on top of the cake (with pastry brush or something similar), give it a good soaking. This will add significant thyme flavor and moisture.
Spoon a large dollop (approximately 3/4 to 1 cup) of cream cheese frosting on the cake top. Spread as evenly as possible with offset spatula. To apply a more precise and even frosting layer, you can use a piping bag or a measured scoop to apply the frosting layer (but honestly, a big scoop of frosting spreaded around will be just fine)
Carefully unwrap the cheesecake and remove the base pan support layer. The Cheesecake will be delicate and easily damageable – so move quickly to place it evenly on top of the base layer cake. The good news is, if you damaged the cheesecake in this process you can just piece it back together with your hands! It is just going to be covered by frosting and another layer of cake.
Repeat the thyme simple syrup and cream cheese frosting application atop the cheesecake.
Unwrap and add the final layer of lemon cake as your top layer. Look at placing the bottom side up – as the edges will be more square
Add the final application of thyme syrup and cream cheese frosting to the cake top, spreading out evenly.
Frost the side of the cake with remaining frosting.
Fancy Note: if you have the time and patience…. You can frost just a crumb coat (thin base layer) on the side and top, then wrap the entire cake in plastic wrap and put in the freezer for an hour or two.
Remove the cake from the freezer and apply a final coat of frosting all around. This is a way to have a cleaner and neater frosted cake – it’ll also be easier to frost and manage because the cake will be frozen solid which allows you to frost and decorate without disturbing any cake crumbs and any layers sliding around warm loose frosting.

1 thought on “Lemon Blueberry Thyme Cheesecake Recipe”
I just have to say how much I enjoy this article!
The insights you’ve shared are very timely for anyone interested in maintaining a healthy lifestyle, and the way you’ve explained the information is so easy to understand.
It’s exactly the kind of content people need in today’s world
when health care has become so essential. I’ll definitely be referring to this article on my site about nutrition – I know
my readers will find it as useful as I did. Thanks for
sharing