Strawberry Rhubarb Tart

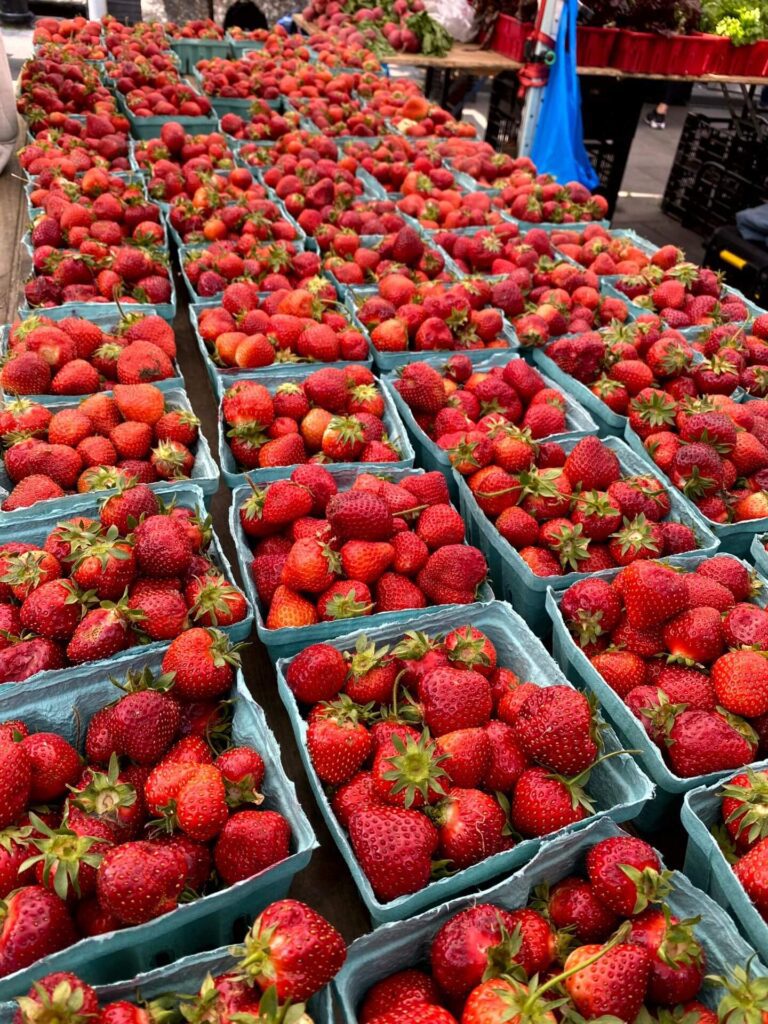
Strawberries and rhubarb are the stars of summer!… before summer completely escapes, grab your strawberries and pull those rhubarb stalks out of the freezer that you bought in late May and dutifully saved, right??? (well, that may be wishful thinking, but not a bad idea….) 

Yep… at time of this post – the famed strawberry and rhubarb season has passed in New York (pretty much everywhere else too)…but I have this delicious recipe that I made in early June – that I want to share now as a part of that strawberry rhubarb season that is now long gone.  At least this will be on the internets in perpetuity forever and ever, and on time for all future strawberry rhubarb seasons to come…. so there, i’m late for one season – but sooo on time for all other S&R seasons, that’s not a bad average.

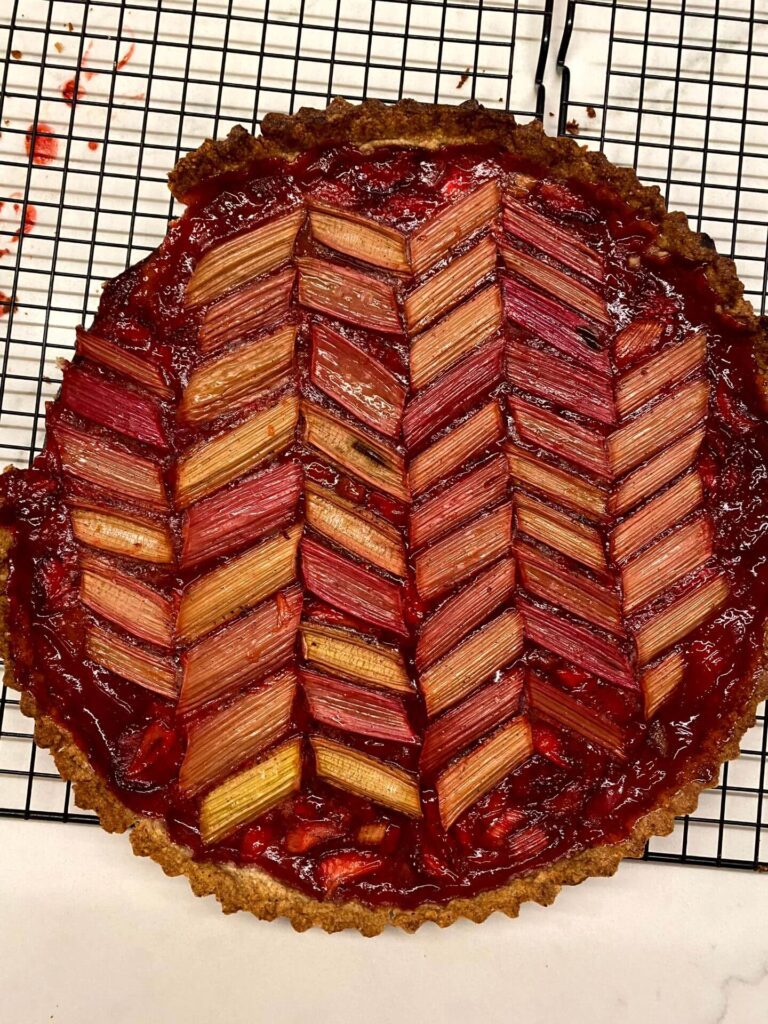
Anywho…I inherited a lovely and large (12″) tart pan from a very special woman a while ago- and I never used it – so this summer I was determined to finally make something in it… a Tart of sorts.  Playing off of my Strawberry Rhubarb pie – I adapted it to the tart form.  Also – I somewhat improvised a cookie tart crust.

I’m not French and have no French culinary training – but I think these pans were developed for fruit tarts from that cuisine.  In those traditional tarts – the crust is something called Pâte Sucrée, which is enriched with egg and sweetened with sugar.  Also the crust is prebaked as a shell, which is then filled with french cream or custard topped with fresh fruit.


This recipe is not that…I just wanted to refer to the backstory of the cultural significance of this particular pan shape, so as to not offend any french tart traditionalists!  Like most things in the kitchen you can do what you want with what you got!


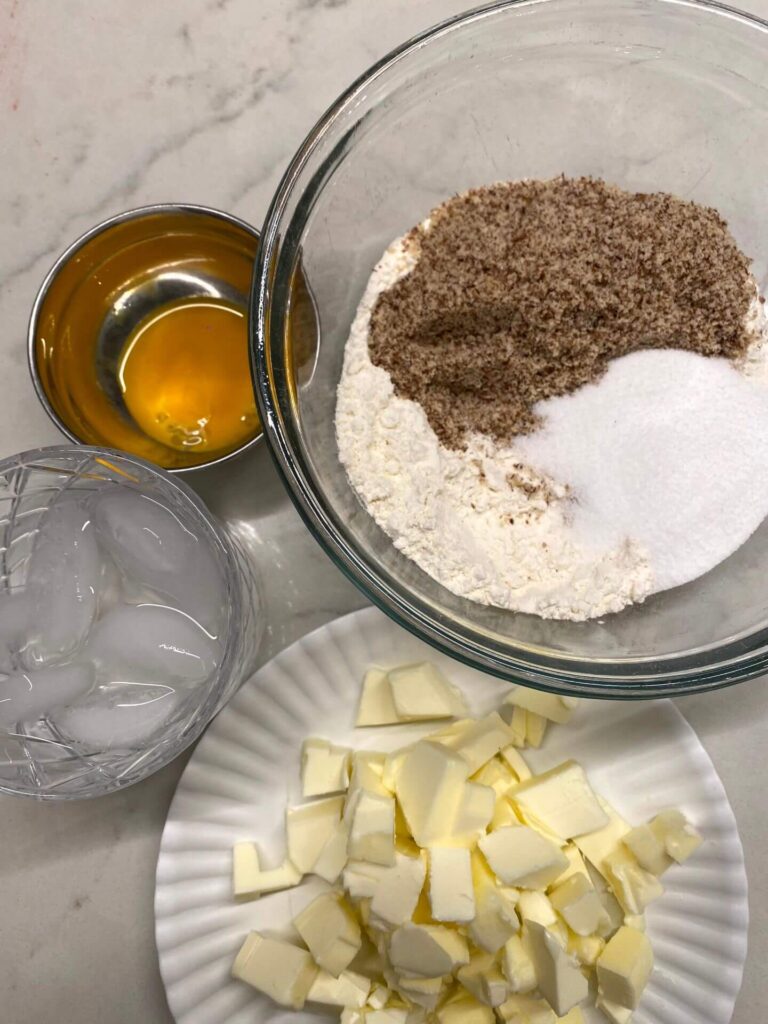
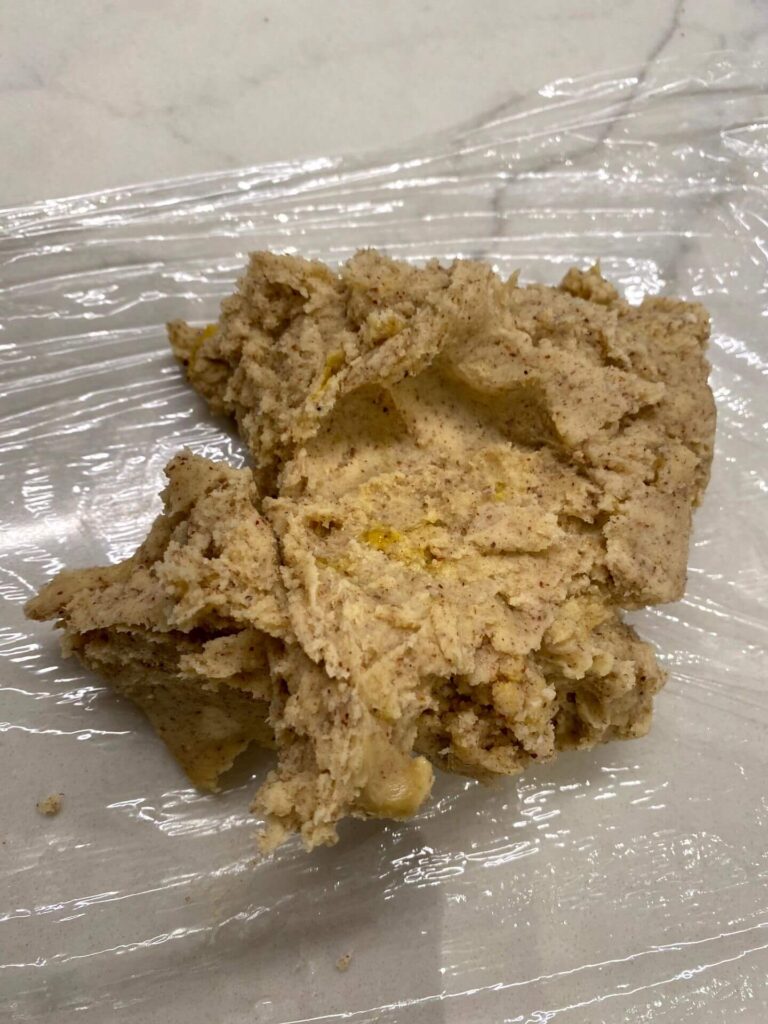
In this instance, I started out making the crust similar to your basic butter crust but then enriched it with egg yolk and sweetened it with sugar (that’s pâte sucrée-ish, right?). Then, I wanted to create the “cookie-ness” with added flavors of hazelnut flour and cinnamon (clearly channeled some European Linzer tart flavors but summer-ized it with strawberry and rhubarb).  Finally, more like a traditional pie, after rolling the crust out into the tart pan, I filled the unbaked tart shell with the strawberry / rhubarb mixture and baked it like a traditional pie.

The result is a super delicate, shortbread-like crust with a jammy thin-ish layer of cooked fruit that basically holds it together.  However, be careful when dismantling the tart from the pan because of the shell’s fragility – it can easily break….and mine did!

So this concoction is a combination of a traditional tart and traditional pie – and it works, it’s delicious… The sweet cinnamon and hazelnutty-ness of the tart shell with the jammy tartness of the fruit filling work perfectly together. I’m not sure how you can go wrong with these flavors!

INGREDIENTS:

Hazelnut Cookie Tart Crust 

  • 150g / 1 1/4 Cups AP Flour

  • 50g  /  3/4 Hazelnut Flour (Almond Flour would work great too!)

  • 2 1/2 Tablespoons Granulated Sugar

  • 1 1/4 Teaspoons Salt

  • 1 Teaspoon Cinnamon

  • 10 Tablespoons Unsalted Butter – cold and cut into small ½” cubes

  • 1 Egg Yolk

  • 2 Tablespoons Ice Water

Rhubarb Strawberry Filling

  • About 3 1/3 cups / 400g / 1 pound  Rhubarb – cut to small pieces

      • For the chevron design in my photos – cut consistent angles every 2” and arrange in chevron rows

  • About 3 cups / 350g / 3/4 lb Fresh Strawberries, hulled and chopped

  • 1 Cup / 198g Granulated Sugar

  • 2 Tablespoons / 14g Cornstarch

  • 1 Teaspoon Salt

  • 1 Vanilla Bean Pod Seeds – scraped

  • 1 Tablespoon Lemon Juice

  • 1 Tablespoon Lemon Zest

Whipped Cream Topping

  • 1 Pint Heavy or Whipping Cream

  • 2ish Tablespoons Confectioners Sugar (depending on your desired level of sweetness)

  • 2 Teaspoons vanilla

INSTRUCTIONS

Prior to Mixing:

  • Preheat oven to 350° F / 177° C

  • Grab a 12” tart pan (with removable bottom plate), adjust recipe down for smaller tart pans.

Mix and Bake:


Prepare the Tart Dough

  1. Combine the two flours, sugar, cinnamon and salt.

  2. Mix in the chilled butter cubes, combine in with a fork, pastry mixer or even your food processor. Goal is to have a moist crumbly/sandy mixture

  3. Mix in the egg yolk

  4. Add ice water as needed to dough consistency, not too wet (sticky) or too dry (crumbly)

  5. Form dough in disc shape, wrap in plastic wrap and chill in the refrigerator for 30 minutes minimum.

Cookie Tart Crust Ingredients
Dough ready to be chilled

Prepare the Fruit Filling

  1. Hull and cut strawberries in half or quarters – final piece should be about ½” big.

  2. Cut the Rhubarb: If going for the “chevron” look – start by creating your diagonally cut 2” pieces, cut as many as you need to arrange your decorative rhubarb top.  Cut the remaining rhubarb into ½” pieces.

    • Tip: draw a 12” circle on parchment paper and arrange your cut pieces so you’re sure you have all the pieces you need

  3. In a large bowl mix all the cut fruit with sugar, cornstarch, salt, scraped vanilla seeds, lemon zest and lemon juice.  Mix together so fruit is covered with all filing ingredients.

  4. Cover and set aside in the refrigerator while you prepare your tart crust.

Fruit filling...don't mind the brown sugar - pretend its granulated, thanks
the stars of summer

Assemble and Bake:

  1. Remove dough from the refrigerator and roll out a single 12” diameter circle piece of dough to lay on the bottom of the tart pan. Dough should be rolled somewhere between ¼” and ⅛” thick.  Trim any dough at the edges, this piece of dough is the floor of the tart only, don’t let it build up the sides.

  2. From remaining rolled dough, cut straight strips approximately 1” wide.  This will be the walls of the tart against the fluted edge of the pan.  Once the tart bottom is in place, take your 1” strips and place around the tart pan edges to create the wall of the tart.  Be sure to push into the fluted edge around the tart pan, as well be sure to smooth over and squish the dough at the seam of the floor and the wall dough pieces.

  3. Using a small, sharp knife – trim all edge dough pieces so the side dough is even with the top of the fluted tart pan.

  4. Now the fun part…. Go to your bowl of nicely soaking and marinating strawberries and rhubarb, and fish out all the diagonally cut rhubarb pieces that you’ll use for the “chevron” design.  This will be messy and surely you’ll wonder if this is “right”… and um… it’s just what I did… I’m open to suggestions here.

  5. With the chevron cut rhubarb neatly set aside, place all other cut strawberries and rhubarb into the tart pan in one even level of fruit just below the tart wall edge.

  6. Next… channel your inner perfectionist and arrange those beautifully cut rhubarb into perfect chevron rows, don’t worry which side faces up – that won’t matter – just get those rows in line!

  7. Bake: place in the oven and bake for about 45 minutes, monitor and remove when tart edges are browned and fruit is gooey and bubbly.

Make the whip cream and decorate

  1. Combine heavy cream, sugar and vanilla and whip with a hand mixer or in your stand mixer – until stiff peaks

  2. Decorate with the whip cream – simply spoon dollops on top of the cooled tart or use a piping bag and piping tips for a more specific look.

  3. Per my photos – I utilized three different piping tips that I liked (I chose varying sizes and pipe textures) then piped the whip cream asymmetrically a top the tart.

  4. I finished off the whip cream design topping with a garnish of mint, edible flowers and lemon zest.

A little honesty here:

BEWARE: crust is a crumbly shortbread like consistency….and as soon as I pulled my tart out of the oven, I immediately broke off a good size portion of my tart edge!… I had a mini panic and thought my tart was DONE FOR, but then remembered – who cares!

I basically covered it up with my whip cream garnish – and who knew?  – no one!

Tart crust is DONE...and a bit crumbly...and BUTTERY
Oopsie.... well, thank god for some pretty garnish to fix this mess up!

Leave a Comment

Your email address will not be published.

Share On:

Facebook
Twitter
Pinterest
Email
Print
Scroll to Top